Cold snaps expose weak gear lists. This checklist focuses on what truly preserves heat: a winter-ready shelter and safe heat source, a moisture-smart layering system, an insulated sleep setup, and routines that control sweat, wind chill, and condensation. Items are practical, weight-aware, and chosen for real snow conditions, not catalogs. Built in the Coody style—clean, durable, easy to deploy—use it to plan a safe weekend in the woods or a longer backcountry trip, then tune it to your route, forecast, and group.
Quick checklist you can scan in 30 seconds
- 4-season or inflatable tent, snow stakes, solid guy-out points
- heat setup for cold weather, stove jack, spark arrestor, CO-safe ventilation
- sleeping bag rated below the forecast, optional liner
- two sleeping pads with high total r-value
- base, mid, and shell layers; dry camp set for night
- waterproof insulated boots, warm socks, gaiters
- glove system: liner + insulated shell; spare mitts
- balaclava or warm hat, neck gaiter
- headlamp with spare batteries
- cold-proof stove, windscreen, fuel for melting snow
- pot, lighter and matches, metal bottle for hot water
- high-calorie food, electrolytes, thermos for hot drinks
- water treatment (filter, tablets, or boil)
- navigation and comms: map, compass, gps/plb, trip plan left with a contact
- avalanche basics where relevant: beacon, probe, shovel
- first aid and repair: tape, cord, patches, multi-tool, spare buckles
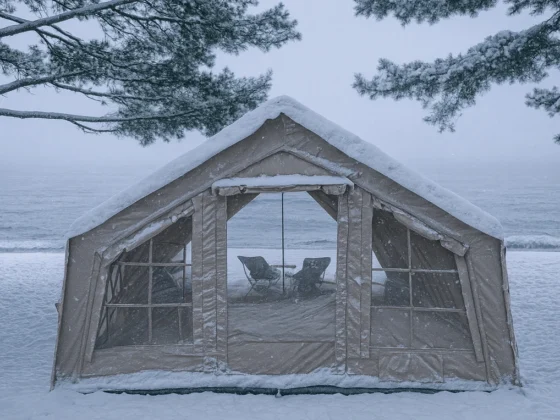
Choosing your winter shelter and heat
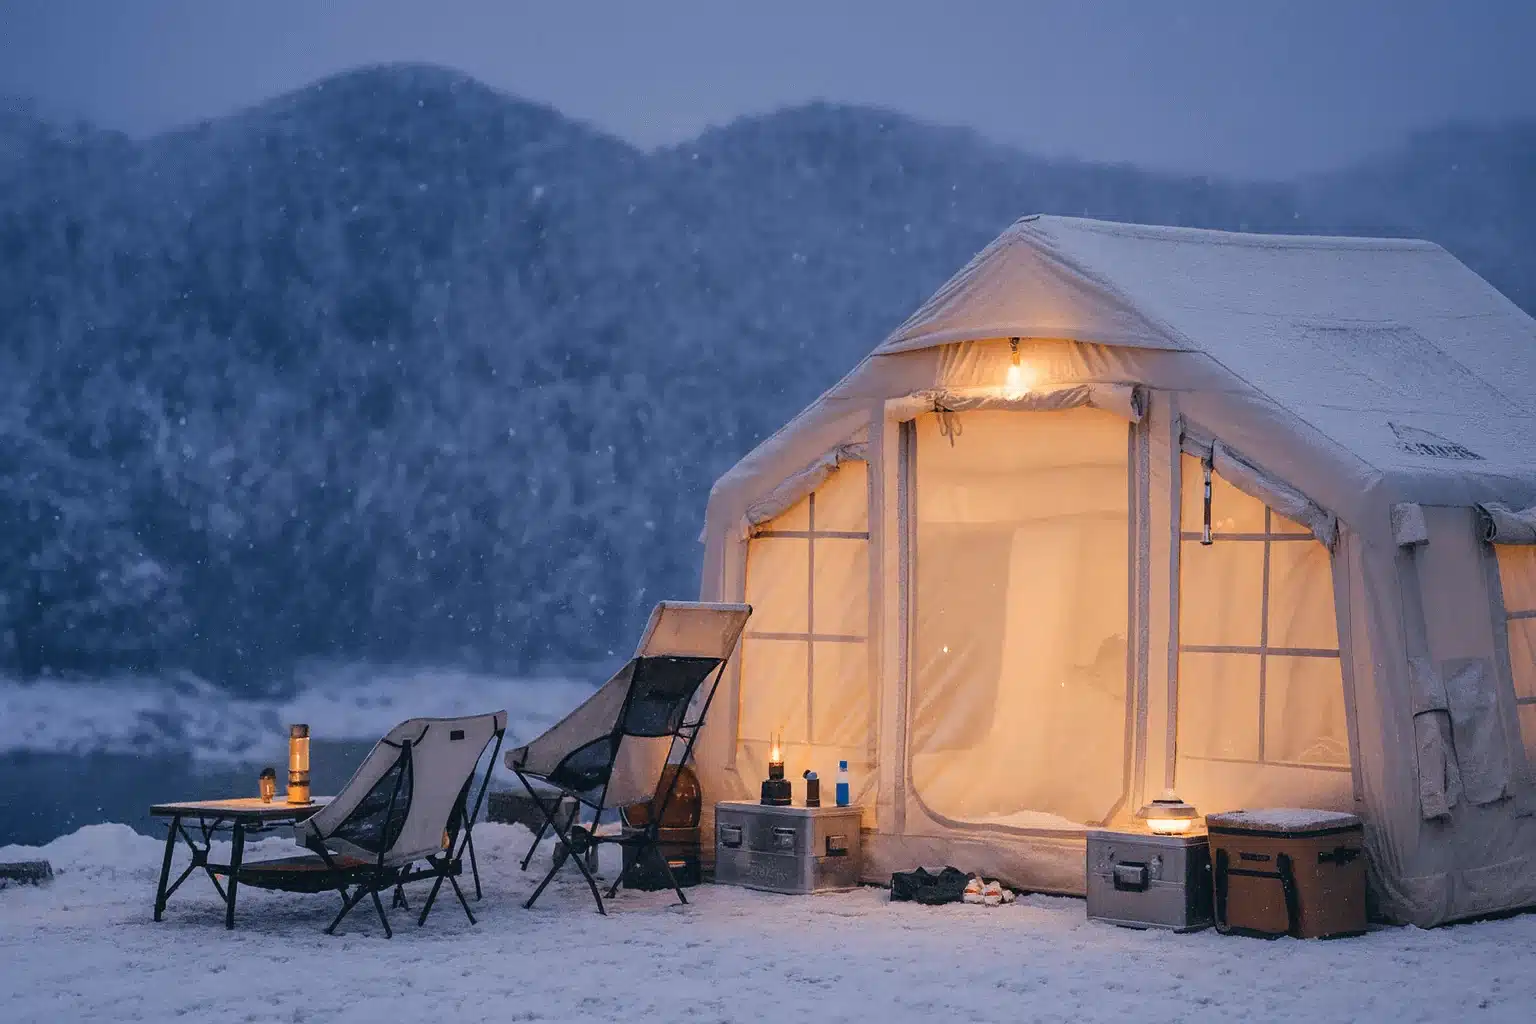
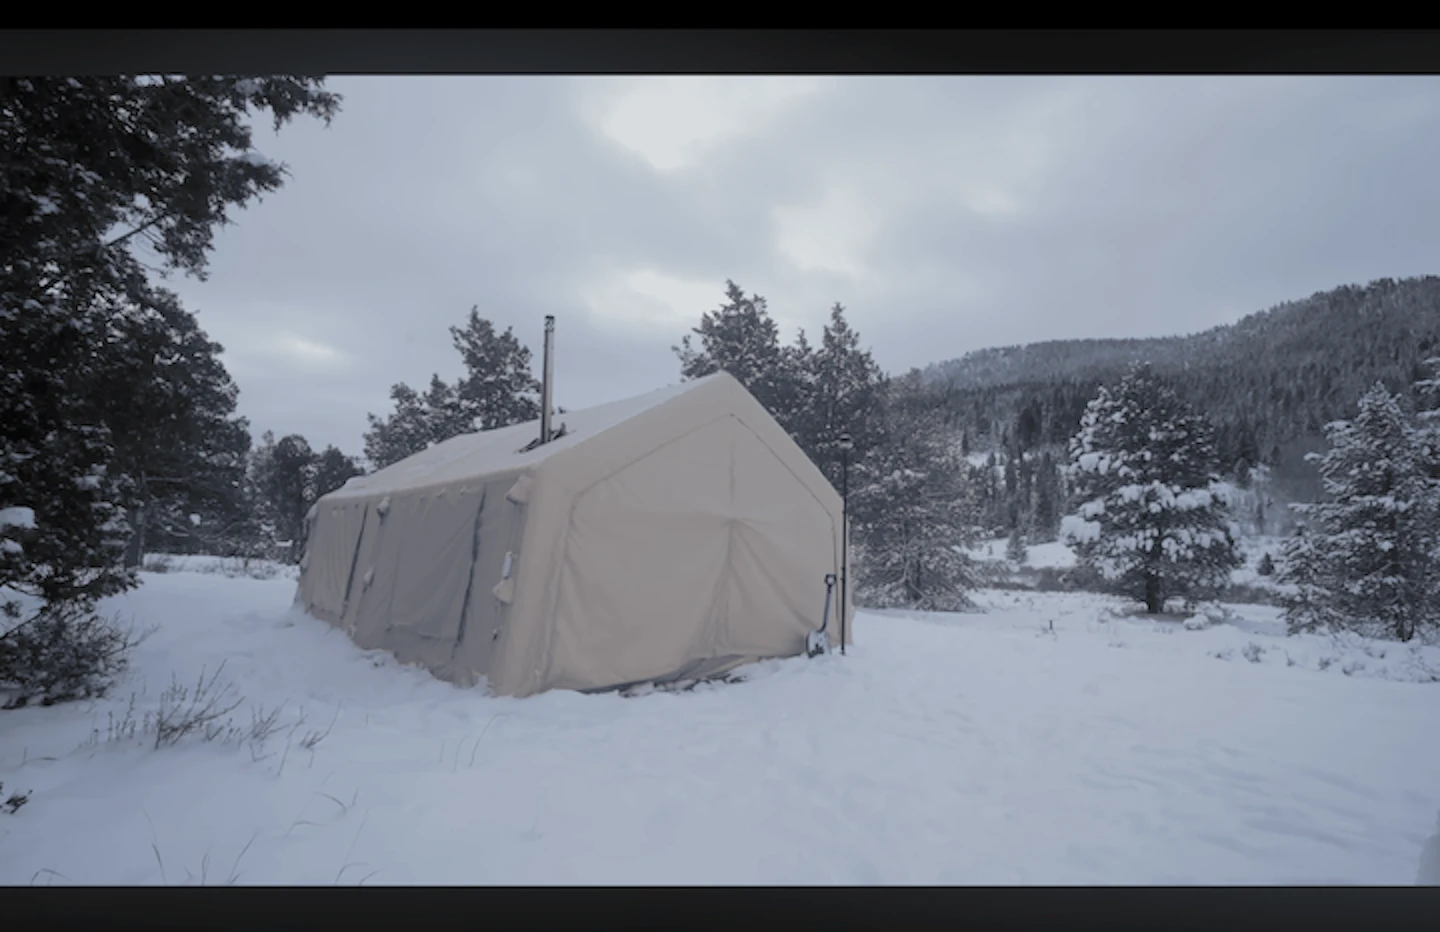
Start with structure and safety. A true winter shelter needs rigid snow-load support, dependable guy-out points, fast pitching in gloves, and controlled airflow to cut condensation. If you want built-in warmth, choose a tent designed for safe stove use with a sealed jack, spark arrestor, and CO-aware ventilation—see thiswinter inflatable tent with wood stove as a benchmark for layout and protections. Prefer simple, repeatable setup: inflatable frames reduce poles and speed the pitch in wind and spindrift; browse the range to match group size and terrain in the outdoors inflatable tent collection.
Match capacity to your cold-weather loadout. In winter you carry bulkier layers, thicker pads, and more fuel, so aim for one extra “slot” beyond headcount to keep wet gear out of the sleep zone. Plan vestibule space for cooking workflows and snow management. Keep vents cracked even during storms to prevent ice glaze. For minimalist overnights or smaller footprints, consider compact models designed for quick setup and efficient heat retention—start with Koala Coody inflatable tents.
Layering that works below freezing
Treat moisture as the main threat. Build a three-part winter layering system and adjust before you sweat.
Base layer: synthetic or merino, snug and fast-drying for moisture management; no cotton. Carry a dry base for camp and sleep.
Mid layer: active insulation that breathes—fleece or grid pieces for movement, plus a warm belay-weight puffy for stops. Add or remove before climbs and open vents early.
Shell: windproof, water-resistant, and durable. Prioritize pit zips, hem/hood cinches, and a two-way front zip to dump heat while blocking wind chill. Keep the hood handy in spindrift.
Hands and feet: liner gloves under insulated shells; spare mitts. Wool socks with room to move; swap to dry pairs at camp.
In severe cold, a vapor barrier liner can preserve warmth on long nights. Walk cool, camp warm, and keep a dry head/neck layer ready.
A sleep system that stays warm overnight
Start with honest temperature ratings. Choose a mummy sleeping bag with a comfort rating below your coldest forecast, not just the limit. Loft equals warmth—keep the bag dry and uncompressed until bedtime. Pair it with two pads: a closed-cell foam under an insulated inflatable. R-values add; aim for a high total in deep winter so ground chill can’t siphon heat.
Sleep in a dry base layer and warm socks; add a light hat or balaclava. Do not overdress—trapped moisture collapses insulation. If nights are brutal, a vapor-barrier liner can slow moisture migration into the bag on multi-day trips.
Manage condensation. Crack vents, keep damp gear out of the footbox, and air the bag at first light. Use the hot-water bottle trick: fill a metal bottle, confirm the cap seal, wrap it in a spare sock, and park it near your feet. Store boots and water inside the tent so they don’t freeze solid.
Cook, melt, hydrate: fuel and food that work in the cold
Choose fuel that performs below freezing. Liquid-fuel stoves stay reliable in deep cold; if you use canisters, run a remote canister with a preheat tube and invert it as designed. Pack extra fuel for melting snow. Set the stove on an insulated base, shield with a windscreen, and cook only with CO-safe ventilation—never in a sealed tent. For hot tents, manage airflow, use dry wood, and keep the damper under control.
Melt snow by starting with a little liquid water to prevent scorching, then treat your water (boil, filter, or tablets). Use wide pots, a stable lid, and gloves you don’t mind singeing. Keep one thermos for hot drinks, one bottle for plain water, both insulated. Food should be high-calorie and quick: fatty meals, easy carbs, pocket snacks that won’t freeze.
Plan before you pack. Check the forecast and avalanche bulletin, set a conservative route with bailouts, and fix a turnaround time. Leave a trip plan with a contact and a check-in window. Carry map and compass, plus gps or offline maps, and a plb/satellite messenger for emergencies. In whiteouts, use bearings, handrails, and altitude to stay oriented; manage daylight so you’re not route-finding in the dark.
Where avalanche risk exists, bring beacon, probe, and shovel—and practice until use is automatic. Travel one at a time on suspect slopes, pause in islands of safety, avoid terrain traps, and favor angles under 30° when uncertain. Read wind loading and recent storm history.
Prevent cold injuries: swap wet layers early, keep spare gloves warm, sip hot fluids, and carry an emergency bivy. Store headlamp batteries close to your body and pack a compact repair kit. Set “no-go” criteria and turn back early if conditions drift outside the plan.
Small extras that boost comfort
Pack warmth multipliers: insulated camp booties, over-the-calf gaiters, spare gloves and socks sealed in a dry bag, and a neck gaiter that stays dry for camp. Add chemical hand warmers for breaks and a foam sit pad so you’re not parked on ice. A small whisk brush clears snow from zips before it melts. Keep a “wet bag” for damp layers to protect your sleep kit. Field repair lives in a pouch: strong tape, fabric patches, needle and thread, cord, zip ties, spare buckles, and a pad valve patch—small weight, big insurance.
Packing & field tips to avoid common mistakes
- dress cool while moving to prevent sweat, then change to a dry base at camp
- crack vents even in storms; clear frost each morning to keep loft alive
- pre-rig reflective guy lines and snow stakes; stamp a firm platform before pitching
- stage the stove: insulated base, stable windscreen, fuel measured for melting snow
- keep criticals accessible: spare gloves, headlamp, repair tape, hot-drink kit
- protect water: lids tight, bottles upside down in the snow, thermos inside the tent
- manage daylight with a hard turnaround time and a short “weather buffer”field-test your winter setup at home or on a nearby overnight before a long trip.